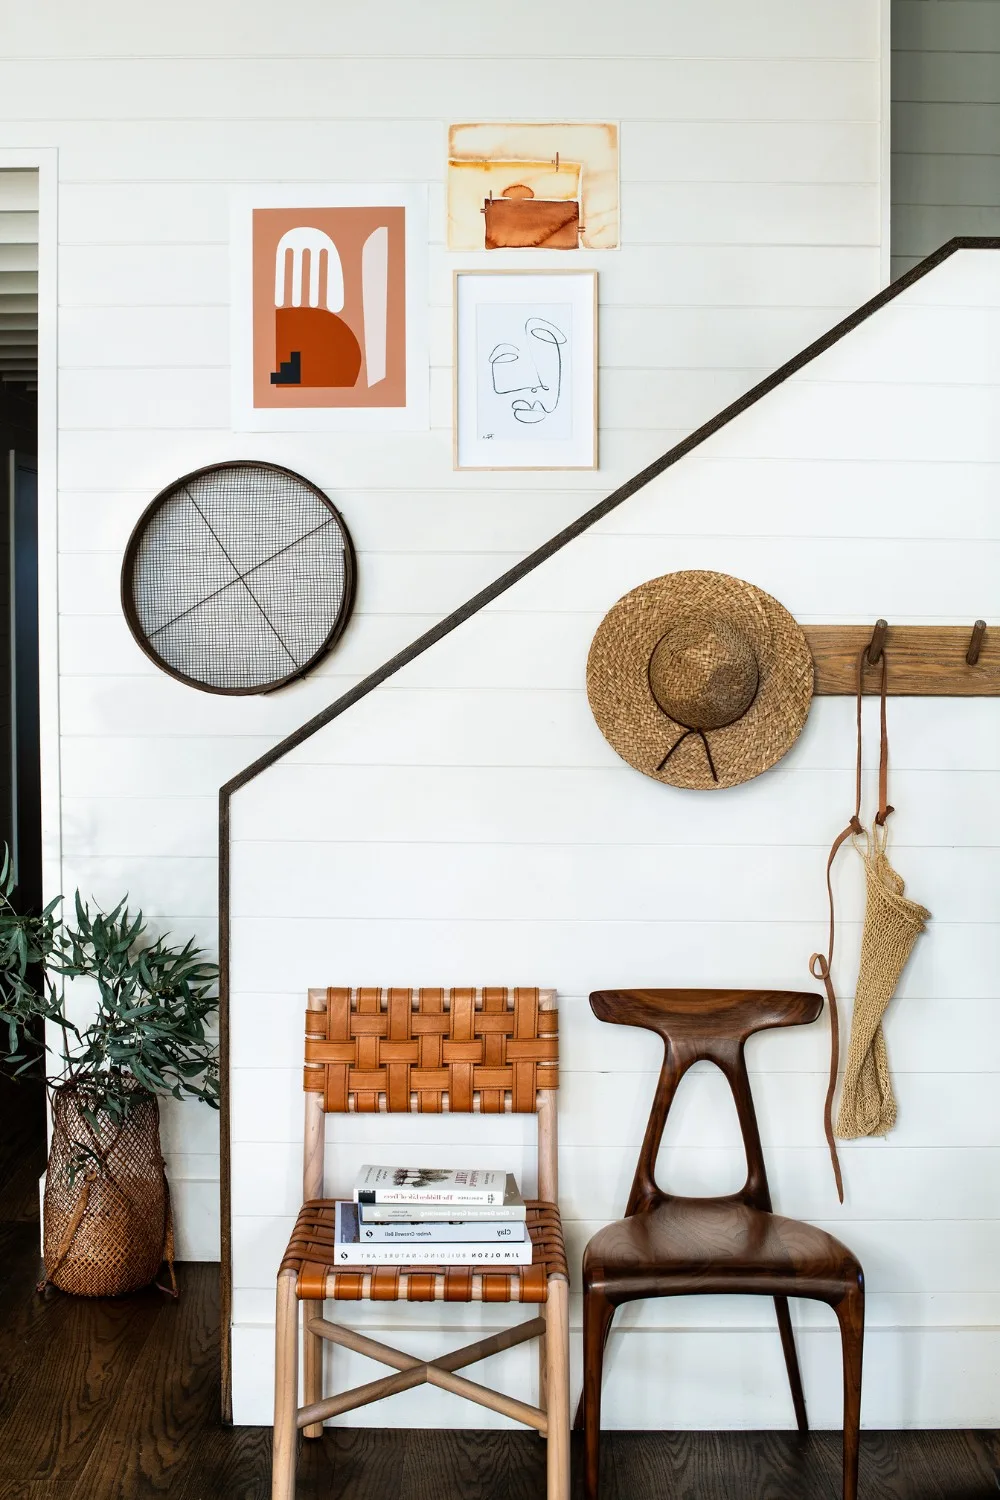
Whether you’re renting your home or simply not ready to commit to in-wall hooks, Command strips are a home decorator’s best friend. The strips, hooks and holdalls can solve a myriad of problems around the house for both storage and display. For organisation, a few strategically placed Command hooks in the laundry can be game-changing, helping to hold cords, mops and brushes to keep everything tidy. Or why not create your own gallery wall in your bedroom, living room or hallway using Command hooks to display a curated collection of art or photo frames?
However, while Command hooks are easy to use, they require careful application and removal to avoid peeling off paint or, worse, damaging your walls. Make sure to take a closer look at the packet for clear instructions on how to use Command strips, but as a guide, here are a few tips to keep your walls perfect.

How to apply and remove Command hooks
1. Prepare the wall surface correctly
Depending on what you’re hanging, there are stand-alone Command strips or strips with a hook attachment that you can use. Command strips work best on clean, smooth surfaces, so wipe the wall with isopropyl rubbing alcohol (methylated spirits) first. This will ensure your strip bonds properly with the wall. Avoid using other surface sprays or cleaning wipes, which may leave a slippery residue.
2. Go slow and steady
If you’ve just painted your walls, you’ll need to be patient before applying any Command hooks. It’s recommended to wait at least 28 days after painting for the surface to completely cure as rubbing alcohol, used to prepare the wall, can remove the paint. It’s also best to avoid placing Command hooks on rough surfaces such as wallpaper and brick, as the strips will struggle to maintain grip and will eventually fall off. Luckily, painted walls, tiles, glass and other smooth surfaces are all ideal for hanging.
3. Apply plenty of pressure
The stronger you apply pressure during installation, the better the Command strip will adhere to the wall. This process takes 30 seconds, but the strip can be reinforced after application by sliding the hook off the base and firmly pressing the strip for another 30 seconds. Then, it’s just a one-hour wait for the adhesive to take hold. Ensure to read the instructions carefully and press firmly along the entire strip, not just in one spot.

4. Choose the right Command hook
The weight restrictions are specified on each product, so carefully weigh your artwork or photo frame before choosing the correct strip and hook. From utility and designer hooks to bathroom and decorative hooks, each style and size comes with a maximum weight allowance. For picture hanging, the extra-large strips can safely and securely support up to 9kg, offering peace of mind.
5. Remove Command hooks the right way
It’s so often the case that years after we’ve put up our Command hooks, we forget how to remove them, resulting in peeled paint or bits of glue left behind. The key to removing Command strips is all about the angle and speed. Once you’ve slid off the hook, hold the bottom tab of the strip and pull down firmly and slowly until the strip releases. The strips can stretch up to 40cm, so it’s essential to keep pulling. The trouble comes when the strip is pulled away instead of down and against the wall, which can leave half of the Command strip behind or cause paint damage.

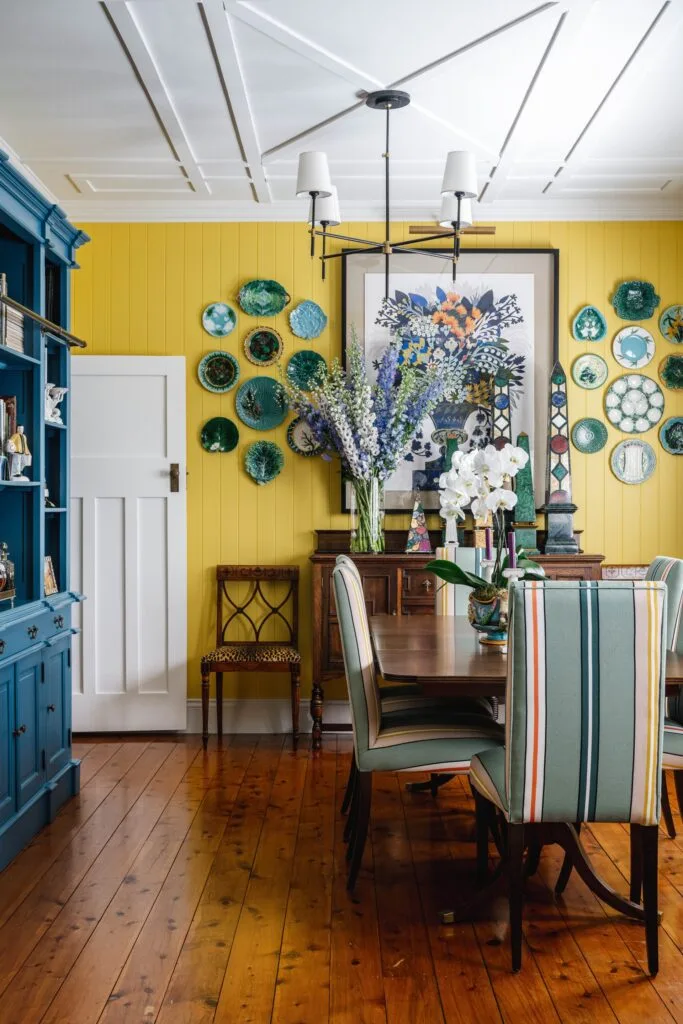
 Photography: Hannah Puechmarin / Styling: Cheryl Carr


