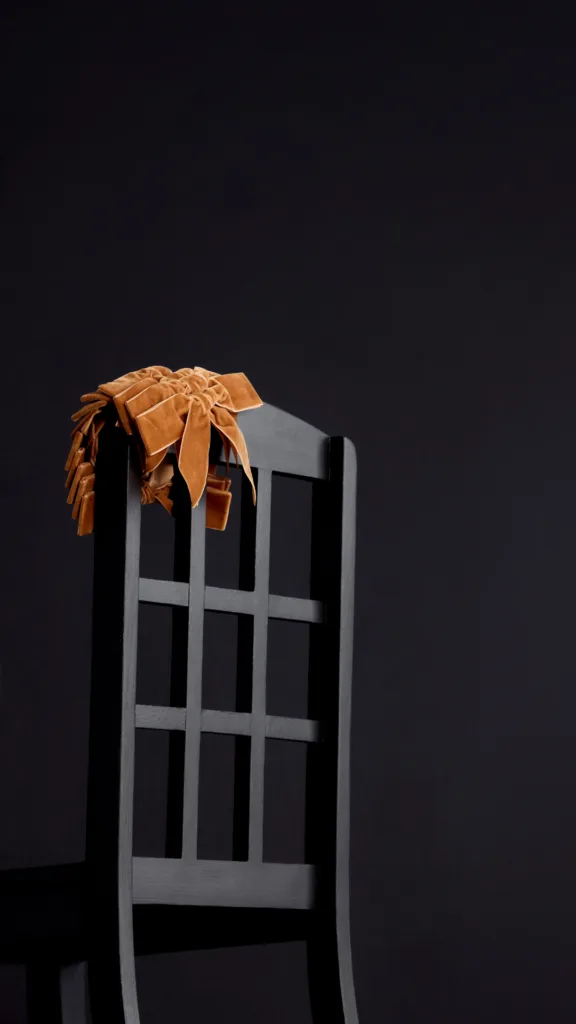
Painting a pre-loved piece of furniture to give it a new lease on life (and save it from landfill) is pretty simple. Painting a chair is a great weekend project – follow our step-by-step where we show you how to get this gorgeous result.

We used Porter’s Revive paint, which has a satin look and a handy built-in wax finish (so it doesn’t require an additional topcoat). It’s self-levelling, so less likely to create brush stroke marks, and is also a low odour and low VOC (volatile organic compounds that aren’t harmful to environment and humans.) It’s suitable for bare, previously varnished, lacquered or painted furniture. We used Porter’s Revive in Black Cockatoo.
How to prepare your furniture for painting
Preparation is key to getting the best finish possible – so don’t be tempted to skip it!
1. Clean
Old furniture gets pretty greasy and grimy over the years, and this can cause paint to flake, crack or not adhere properly.
Clean it with a cloth and either hot water and dishwashing detergent or something more powerful, such as Tricleanium (from Bunnings).
Wait for the piece to dry before the next step. Note: waxes and silicone-based furniture polishes may need a solvent.
2. Sand
Sanding creates some ‘tooth’ for the paint to stick to and in most cases a ‘scuff’ sand to de-gloss the surface will do.
Gently sand, using a 180 to 240 grit sandpaper – nothing too coarse that will damage the timber.
Follow the grain ( this can be tricky with legs and spindles but just be aware of not over-sanding one area.)
Clean with a damp cloth after sanding (and use a vacuum beforehand if that helps).
If you need to fill any small holes or damaged areas with wood putty, this is when you do it. You’ll need to sand this area again, according to the manufacturer’s instructions.
3. Prime
For best results Porter’s website suggests priming before painting as tannins in old pieces can bleed through and stain the final paint coat. We used their Porter’s Prepare & Prime (a multi-surfaces primer and stain blocker).
Apply one coat and allow to dry for two hours before you apply paint.
Look over your piece and sand off any drips or rough areas. Lightly sand the surface if you need to, using a fine sandpaper (320-400 grit).
Wipe with a damp cloth.

How to paint your piece of furniture
Revive is self-levelling to reduce brushstroke marks and has a built-in durable wax finish (so there’s no need for an additional topcoat.) Use brushes made for furniture painting. You can use a microfibre roller then smooth off the paint by dragging a brush over at a low angle.
1. First coat
Dip brush halfway up the bristles and remove excess paint on side of container. Overloading causes brush marks.
Paint a thin coat in the direction of the grain using long strokes (short brush strokes and going over drying paint cause more brushstroke marks).
The paint is touch dry in one hour. Wait a minimum of two hours before the second coat.
2. Second coat
Look over your piece and sand off any drips. For an extra smooth result, lightly sand the surface again, using a finer sandpaper (320-400 grit).
Wipe off any dust with a damp cloth.
Apply second coat as above. This should be sufficient but check to see if you need a further coat (particularly with black paint over a white primer).
There is no need to apply a topcoat as Revive has a built-in satin finish.
Dry for 8 hours. The paint will ‘cure’ (fully harden) in around seven days.
Watch our step-by-step video below.


