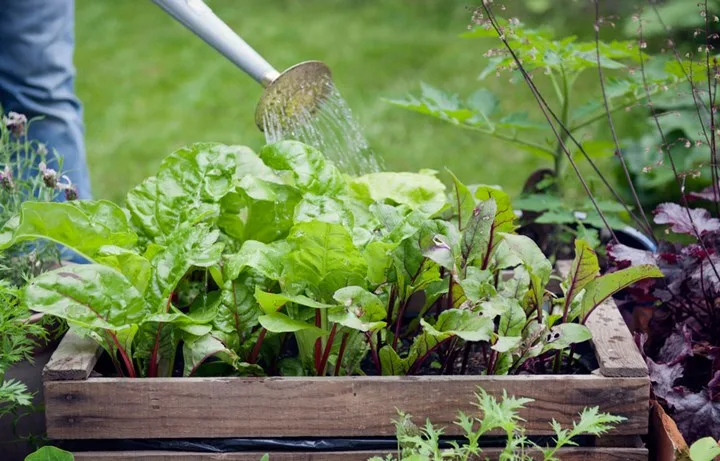
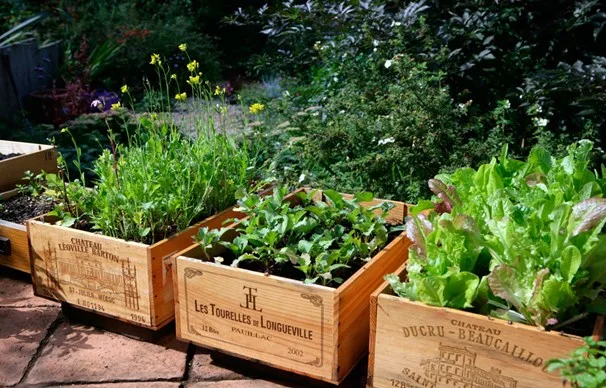
You don’t need a massive garden space to enjoy homegrown produce or a fabulous display of flowers – you can turn an old timber crate (or two or three) into the best-ever, easy-care container garden. Here’s what you need to know to get started.
1. Give it a coat
To increase the lifespan of your timber crate, it’s a great idea to give it a coat or two of exterior paint or varnish. To do this, lightly sand all surfaces with fine-grit sandpaper and wipe away the dust. Choose a water-based paint or varnish product, then apply an even coat to the crate using a paintbrush. Let dry, then apply a second coat for good measure. Let dry.
2. Line the inside
Choose a durable plastic to line the inside of your box (a heavy–duty bin liner will do the trick, otherwise your local hardware store will have good quality plastic you can use). The plastic lining does a couple of things – it prevents the potting mix from spilling out through gaps between the slats, and it stops wet soil resting against the timber (which speeds up rotting!). Just cut the plastic to size, fold it neatly at the corners, then use a hammer and nails or a staple gun to attach the plastic around the top edge of the crate.
3. Punch holes
Probably the most important thing you can do to ensure good results from your container garden is to punch several holes in the base layer of the plastic and drill holes in the bottom of the crate. This allows for good drainage so that your plants aren’t sitting in water. One thing to note – considering there will be water run-off from your crate garden, place it in a position where this won’t make a mess or stain ground surfaces, otherwise make arrangements to slot a water-catching tray underneath.
4. Raise it up
So that your crate isn’t sitting in a pool of water, raise it up off ground level. To do this, you can just place a few house bricks underneath, screw a chock of timber to each underside corner or attach a set of easy-move castor wheels. Simple!
This article originally appeared on Better Homes and Gardens.
 Getty images
